In the world of cartoon animation, a energetic and captivating background can make all the difference. One of the most versatile and essential backgrounds is the classic blue sky. Whether you’re crafting a cheerful daytime scene or setting the stage for an epic adventure. A well-designed sky background can raise your animation to new heights. The Morphic Studio help you to understand how you can create a stunning Freepik Super Blue Sky Background for your cartoon animations, providing you with the tools and knowledge to bring your creative visions to life.
Introduction
The art of animation is a delicate balance between storytelling and visual appeal. A crucial element that often goes unnoticed but plays a significant role in setting the mood and atmosphere of any animated scene is the background. Among these, the blue sky background stands out as a timeless classic, offering a canvas of endless possibilities for animators and artists alike.
Freepik, a leading platform for graphic resources, provides an extensive collection of high-quality backgrounds, including a wide array of blue sky options made or changed for cartoon animations. By leveraging these resources, animators can save time and energy, focusing more on character development and storyline while still make certain a professional and polished look for their projects.
In this article, we’ll dive deep into the process of creating a Freepik Super Blue Sky Background for your cartoon animations. We’ll cover everything from selecting the perfect background to implementing it in your animation software, along with tips and tricks to enhance your creative process.
Step-by-Step Guide to Creating Your Sky Background
Step 1: Navigating Freepik’s Vast Library
The ride to your perfect sky background begins at Freepik’s website. Here’s how to get started:
Open your web browser and negotiate to the Freepik website.
In the search bar, type “blue sky cartoon background” to narrow down your options.
Pro Tip: Use Freepik’s advanced search filters to refine your results based on color schemes, style, or specific elements like clouds or sun.
Step 2: Selecting the Ideal Background
With thousands of options at your fingertips, choosing the right background might seem daunting. Here’s how to make an informed decision:
Browse through the available options, taking note of different styles and elements.
Consider the mood and tone of your animation. Do you need a bright, cheerful sky or something more subdued?
Look for backgrounds that offer flexibility. Backgrounds with separate layers for clouds or other elements can be more versatile for animation purposes.
Check the resolution and file format to ensure compatibility with your animation software.
Basic Consideration: Think about the long-term use of the background. Will it be static, or do you need elements that can be animated separately?
Step 3: Downloading Your Chosen Background
Once you’ve found the perfect background, it’s time to make it yours:
Click on the chosen background to view it in detail.
Look for the download button, usually prominently displayed on the page.
Before downloading, check the available formats. Freepik often offers multiple options:
JPG: Best for static backgrounds with no transparency needed.
PNG: Ideal if you need transparency or higher quality.
Vector formats (AI, EPS): Perfect for scalability and easy editing.
Choose the format that best suits your project needs and click download.
Think of: Always check the licensing terms. While many Freepik resources are free to use, some may require attribution or have specific usage restrictions.
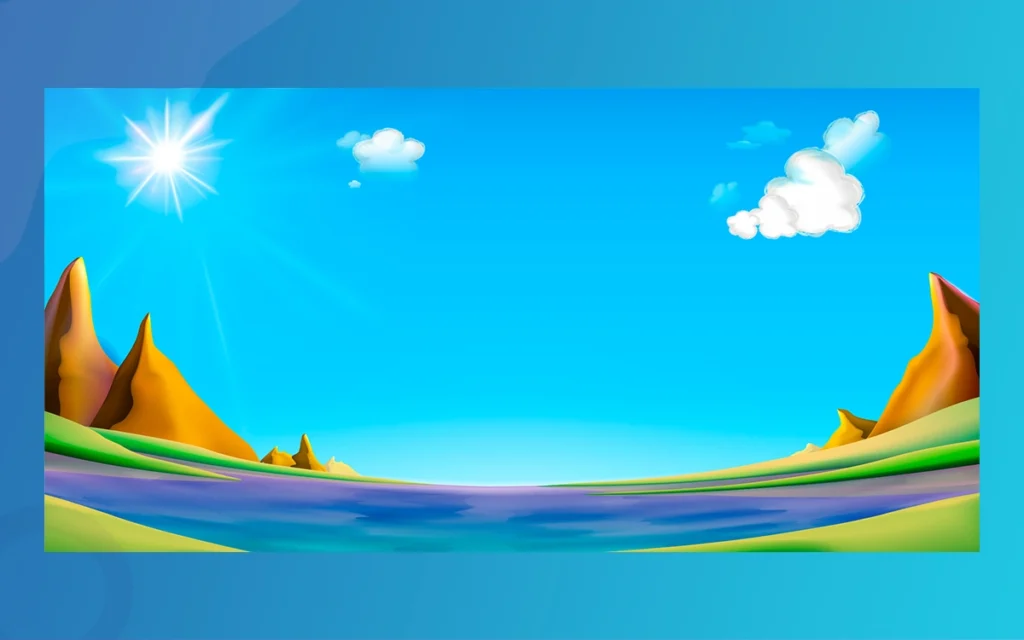
Freepik Super Blue Sky Background By The Morphic Studio
Step 4: Customizing Your Background
Even the perfect background might need a little tweaking to fit your specific needs. Here’s how to edit your downloaded background:
Open the background in your preferred graphic design software. Popular choices include:
Adobe Photoshop for raster images (JPG, PNG)
Adobe Illustrator for vector files (AI, EPS)
GIMP or Inkscape for free, open-source alternatives
Consider the following edits to personalize your background:
Adjust colors to match your animation’s palette
Add or remove elements like clouds, stars, or sun
Modify the general composition to fit your scene requirements
If working with a vector file, take advantage of the scalability to resize elements without losing quality.
Save your edited background in a format compatible with your animation software.
Creative Tip: Experiment with gradients or texture overlays to add depth and uniqueness to your sky background.
Step 5: Implementing the Background in Your Animation
With your customized background ready, it’s time to bring it into your animation project:
Open your animation software. Popular options include:
Adobe After Effects
Toon Boom Harmony
Blender (for 3D animations)
Import your edited background file into your project.
Position the background in your scene, considering the following:
Scale and aspect ratio to fit your animation’s resolution
Placement of other elements like characters or foreground objects
If your background has separate layers (e.g., clouds), consider animating these elements for added dynamism.
Adjust the background’s opacity or blending mode if needed to integrate it perfectly with other elements in your scene.
Animation Hack: Create a parallax effect by duplicating your background and moving different layers at varying speeds to add depth to your scene.
Enhancing Your Animation with Complementary Elements
To truly bring your cartoon animation to life, consider incorporating additional elements that complement your sky background:
Characters and Objects
Freepik offers a wide range of cartoon characters and objects that can populate your sky scene:
Search for “cartoon characters” or specific objects like “cartoon birds” on Freepik.
Download and edit these elements to match your animation style.
Integrate them into your scene, considering their interaction with the background.
Weather Effects
Add dynamism to your sky background with weather elements:
Look for resources like “cartoon rain” or “cartoon sun” on Freepik.
Incorporate these elements as overlays or animated sprites in your scene.
Adjust opacity and blending modes to create realistic weather effects.
Best Practices for Using Freepik Resources in Animation
To make the most of Freepik’s resources and ensure a smooth animation process, keep these best practices in mind:
Organize Your Assets: Create a dedicated folder structure for your downloaded and edited resources.
Maintain Consistency: When using multiple Freepik resources, ensure they share a cohesive style and color palette.
Respect Licensing: Always stick to Freepik’s licensing terms, providing attribution when required.
Plan for Scalability: Whenever possible, work with vector formats to allow for easy resizing without quality loss.
Backup Your Work: Regularly save different versions of your edited backgrounds to allow for easy revisions.
Comparison Table: File Formats for Animation Backgrounds
Backgrounds that need frequent editing or resizing
SVG
– Small file size<br>- Scalable<br>- Web-friendly
– Limited support in some animation software
Web-based animations or backgrounds with simple shapes
Finally
Creating a captivating Freepik Super Blue Sky Background for your cartoon animation doesn’t have to be a daunting task. By following this complete guide, you’ve learned how to negotiate Freepik’s vast library, select the perfect background, customize it to your needs, and perfectly integrate it into your animation project.
Think of the basic to a successful animation lies not just in the quality of individual elements, but in how they come together to tell a story. Your sky background sets the stage, creating the atmosphere that will immerse your audience in the world you’ve created.
As you continue to take a look at and experiment with Freepik’s resources, you’ll discover endless possibilities for enhancing your animations. Don’t be afraid to mix and match elements, play with different styles, and push the boundaries of your creativity.
TVPaint Animation Tutorial: Is It Worth the Investment?
As statistical animation tools continue developing and progressing, TVPaint Animation Tutorial stands out as a specialized solution for traditional 2D animation. The Morphic Studio helps you to determine whether this sophisticated software deserves a place in your creative toolkit. Follow TVPaint’s Legacy in Animation TVPaint Animation has earned its reputation as a powerhouse in the […]
February 4, 2025
TVPaint Animation Software Review: Pricing & Features
In animation, if you want to find the right software can make all the difference between bringing your creative vision to life or getting lost in technical limitations. TVPaint Animation Software Review has emerged as a powerful contender in the 2D animation space, offering solutions for both budding artists and seasoned professionals. The Morphic Studio […]
February 4, 2025
TVPaint Animation Cost Comparison: Student vs Professional License
TVPaint Animation Cost stands as a powerful tool in the statistical animation industry, offering different licensing options made or changed to both students and professionals. This detailed inquiry take a look at the cost structures, feature comparisons, and long-term value propositions of TVPaint’s various license types. Breaking Down the Cost Structure TVPaint Animation Cost pricing […]