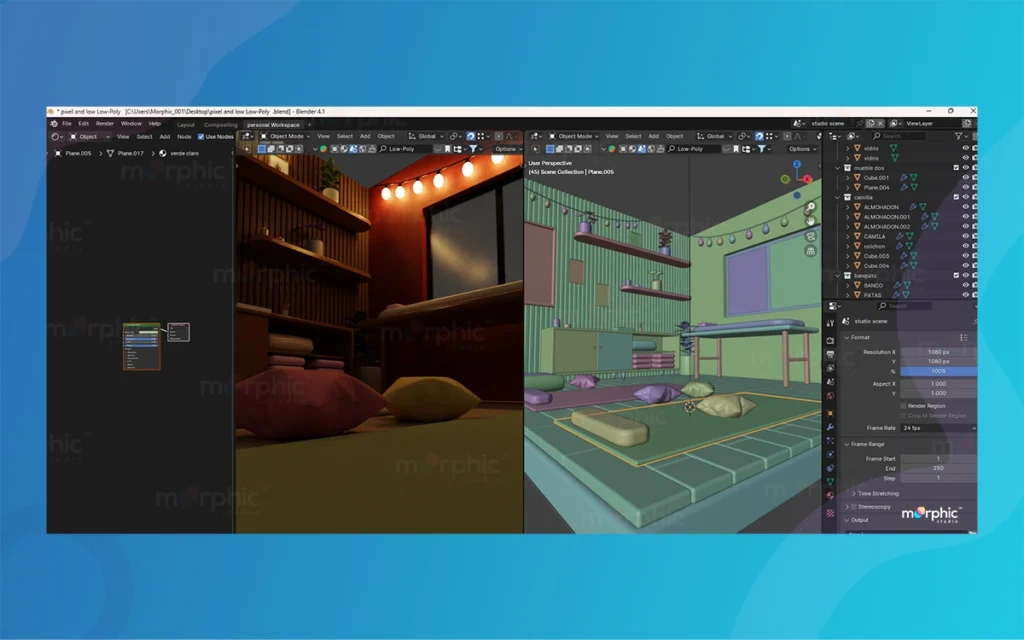
Creating Low-Poly N64-esque Art in Blender is a rewarding attempt that allows artists to capture the nostalgic essence of classic video games. This information is about the essential steps of modeling, texturing, and rendering, providing you with the tools to create authentic low-poly models reminiscent of the Nintendo 64 era.
Introduction to Low-Poly N64 Art
The Nintendo 64 (N64) was a innovative console that introduced 3D graphics to a wider audience. Still, due to hardware limitations, artists had to be creative with their designs, resulting in a unique Low-Poly N64-esque Art in Blender aesthetic. This guide will help you replicate that style using Blender, a powerful and versatile 3D modeling software.
Low-Poly N64-esque Art in Blender By The Morphic Studio
Modeling Techniques
Start with Primitive Shapes
The foundation of your N64-style model should be built using basic geometric shapes.
Cubes and Spheres: Begin with cubes for the body and spheres for the head and limbs. This approach adjusts with the low-poly aesthetic, which favors simple structures over complex configurations.
Use the Decimate Modifier
After creating a high-poly version of your model, apply the Decimate Modifier.
Polygon Reduction: This modifier reduces the polygon count while preserving the general shape of the model. Aim for a count that reflects the limitations of N64 graphics, typically between 300 to 800 triangles for character models.
Segmented Joints
For character models, ensure that joints (like arms and legs) are segmented rather than smoothly de configuration.
Independent Movement: This technique mimics the animation style of N64 characters, where separate pieces rotated independently, enhancing the retro feel.
Low-Poly N64-esque Art in Blender By The Morphic Studio
Reference Images
Utilize reference images to guide your modeling process.
Orthographic Character Sheets: Import these sheets into Blender to maintain proportions and details accurately. This will help you stay true to the original designs of N64 characters
Texturing Techniques
Low-Resolution Textures
Creating textures at low resolutions is crucial for achieving an authentic N64 look.
Texture Size: Use textures sized at 32×32 or 64×64 pixels. These sizes were common in N64 games and help replicate the retro aesthetic. Consider using a 16-color palette to further enhance the nostalgic feel.
Texture Atlases
To manage multiple textures efficiently, engage a texture atlas.
Optimization: This technique allows you to combine several textures into a single image, reducing the number of texture swaps during rendering and improving per configuration.
Paint Details into Textures
Instead of modeling intricate details, paint features directly onto the textures.
Direct Painting: Add elements like eyes and clothing patterns directly onto the low-res textures. This method was commonly used in N64 games to compensate for low polygon counts.
Vertex Coloring
In addition to textures, consider using vertex colors.
Direct Vertex Application: This technique allows you to add color directly to the vertices of your models, which was a common practice in N64 games due to texture memory limitations. Combining vertex colors with low-res textures can enhance the authenticity of your models.
Texture Filtering
To achieve the characteristic look of N64 graphics, adjust your texture filtering settings.
Disable Mip-Mapping: In Blender, turn off mip-mapping to keep textures sharp and pixelated. While N64 games often utilized texture filtering, experimenting with both settings can yield interesting results.
Low-Poly N64-esque Art in Blender By The Morphic Studio
Rendering Settings
How to Set Resolution
For a true N64 feel, configure your render resolution.
Standard Resolution: Set your render resolution to 320×240, which was the standard for many N64 games. This low resolution enhances the pixelated look of the graphics and adjusts with the console’s capabilities.
How to Use Shader Techniques
Implement shaders that mimic the N64’s texture filtering.
Emulate Original Hardware: Using shaders can help create a more authentic appearance by replicating how textures were rendered on the original hardware. Consider using 3-point bilinear texture filtering techniques for the best results.
Common Mistakes to Avoid
Creating Low-Poly N64-esque Art in Blender can be challenging, and there are some common pitfalls to watch out for:
Relying on Subdivision Surfaces: Avoid using subdivision surfaces to fix the configuration of your model. The configuration should not change significantly when subdividing; instead, focus on an even distribution of edges.
Over-Decimating: Be cautious not to decimate your model excessively. Overuse of the Decimate modifier can lead to merging vertices and loss of important details.
Animating with Smooth De configuration: N64 games typically did not use smooth de configuration for animations. Instead, model characters as separate segments that rotate independently at the joints.
Modeling Intricate Silhouettes: Prioritize preserving the silhouette of your model. Avoid complex shapes that may complicate optimization later on.
Detail in the Base Mesh: Don’t model all intricate details into the base mesh. Instead, create a simple base, subdivide, and then add extra details as needed.
Low-Poly N64-esque Art in Blender By The Morphic Studio
Best Practices for Texturing N64-Style Models
To effectively texture your N64-style models, follow these best practices:
Technique
Description
Low-Resolution Textures
Use textures sized at 32×32 or 64×64 pixels to maintain the retro aesthetic.
Texture Atlases
Combine multiple textures into a single image to optimize rendering per configuration.
Paint Details
Directly paint features onto low-res textures to compensate for low polygon counts.
Vertex Coloring
Utilize vertex colors to add direct color to model vertices, enhancing authenticity.
Disable Mip-Mapping
Keep textures sharp and pixelated by disabling mip-mapping in Blender.
Shader Techniques
Implement shaders to emulate the N64’s texture filtering for a more authentic appearance.
Finally
You can effectively create Low-Poly N64-esque Art in Blender. This process captures the nostalgic essence of classic Nintendo 64 games while honing your skills in 3D modeling and texturing. Remind to experiment with different settings and techniques to find the style that best suits your creative vision. Hold the limitations of the era and enjoy the ride of bringing retro art to life in your projects. For visual guidance, consider watching tutorial videos that demonstrate these techniques in action, which can provide additional awareness and inspiration as you embark on your low-poly modeling adventure.
How to use Lens Blur and Point Color in Lightroom in Photoshop
Creating professional-looking photos often relies on two basic elements: controlling depth of field through blur effects and precise color manipulation. Adobe’s powerful editing tools—Lightroom and Photoshop—offer sophisticated features to achieve these effects through Lens Blur and Point Color functionalities. Whether you’re a portrait photographer looking to create dreamy backgrounds or a product photographer needing precise […]
April 22, 2025
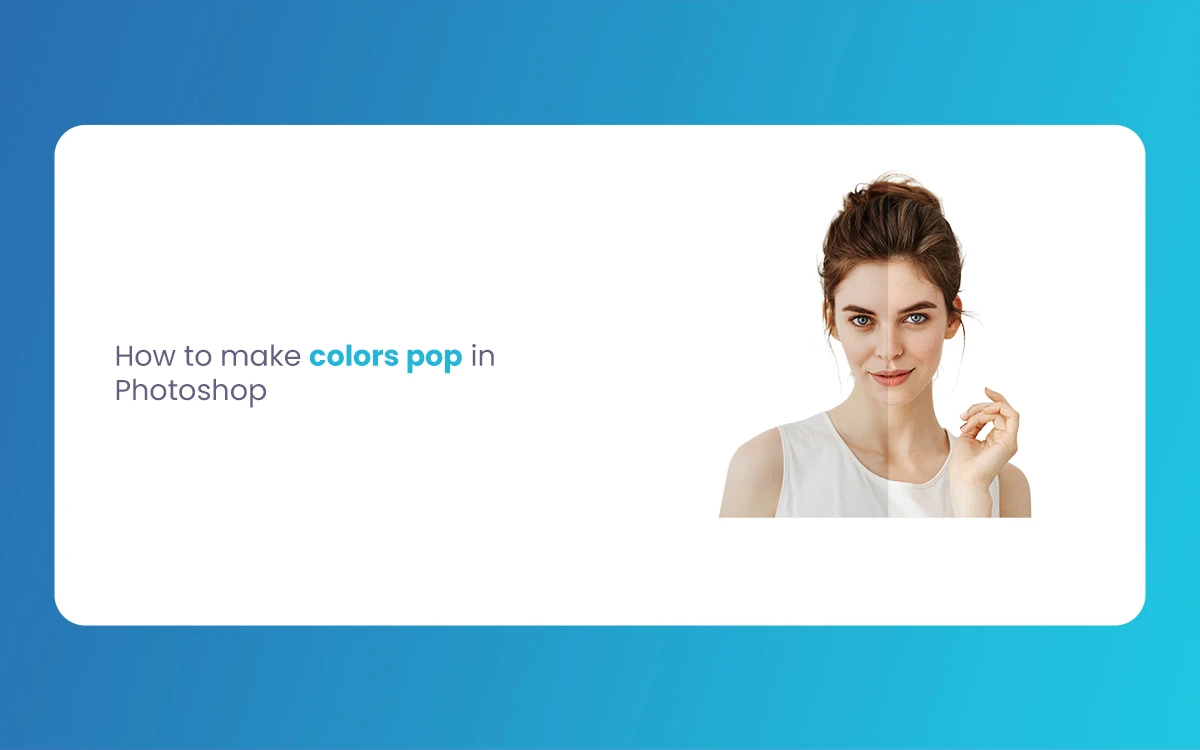
How to make Colors Pop in Photoshop
Introduction In statistical image editing, few techniques are as impactful as making Colors Pop in Photoshop. This process enhances image vibrancy, draws attention to basic elements, and transforms ordinary photos into eye-catching visuals. Whether you’re a professional photographer, graphic designer, or enthusiast, mastering these color enhancement techniques can dramatically improve visual content. The Morphic Studio […]
April 22, 2025
How to Smooth Skin in Photoshop
In Portrait retouching, achieving flawless Smooth Skin without crossing into the uncanny “plastic” territory remains one of the most sought-after skills. Whether you’re a professional photographer enhancing client images or a hobbyist perfecting family portraits, mastering Smooth Skin techniques in Photoshop can dramatically elevate your work. The Morphic Studio shares information about the professional methods […]