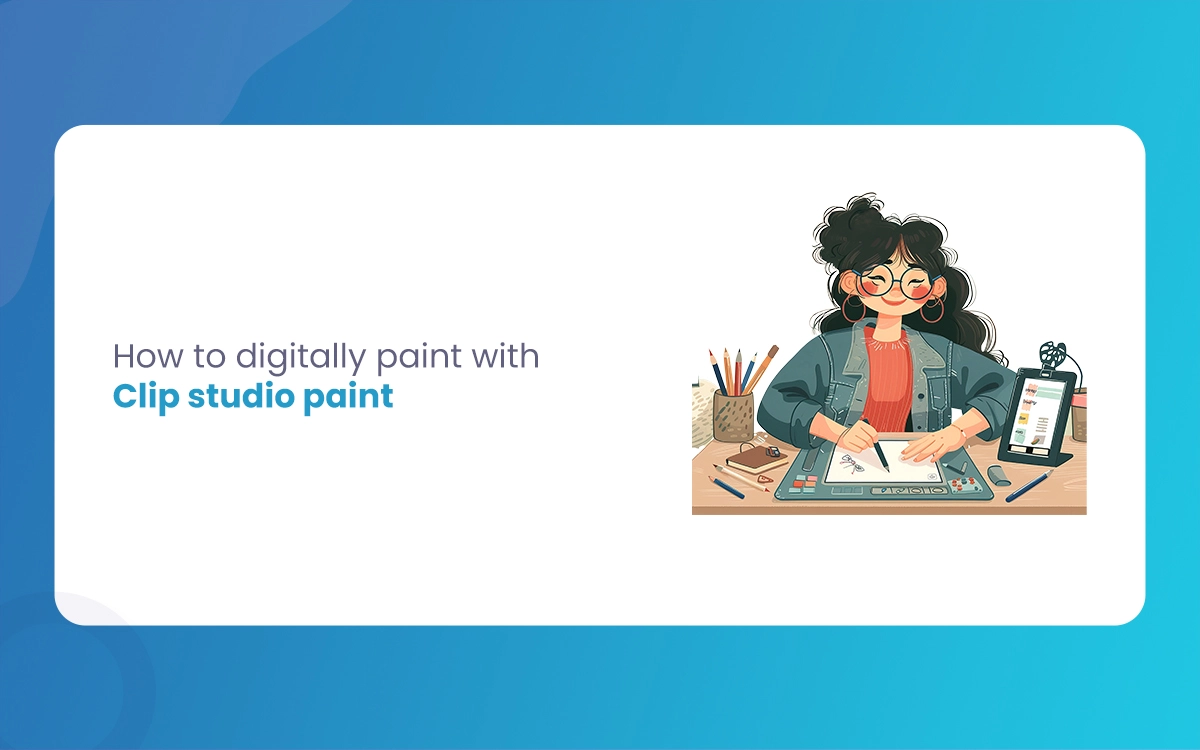
Digital art has revolutionized how artists create and express themselves, and Digitally Paint with Clip Studio Paint is at the forefront of this creative transformation. Whether you’re a budding illustrator or an experienced artist looking to expand your digital toolkit, The Morphic Studio shares the essential techniques and strategies for creating stunning digital artwork using Digitally Paint With Clip Studio Paint.
Follow Clip Studio Paint: Your Digital Art Companion
Clip Studio Paint is more than just software—it’s a powerful creative platform designed specifically for artists, illustrators, and manga creators. With its intuitive interface and strong and healthy set of tools, the application provides an unparalleled digital painting experience that caters to artists of all skill magnitudes.
Basic Features at a Glance
Feature
Description
Benefit for Artists
Versatile Brush Engine
Advanced brush customization
Create unique artistic styles
Layer Management
Non-destructive editing capabilities
Experiment without fear of losing work
Professional Color Tools
Advanced color selection and manipulation
Precise color control and harmony
Animation Support
Frame-by-frame and timeline animation
Expand creative possibilities
Asset Marketplace
Downloadable materials and resources
Access to community-created content
Getting Started: Setting Up Your Digital Canvas
Choosing the Right Workspace
Clip Studio Paint offers two primary workspace configurations:
Simple Mode: Ideal for beginners, this mode provides a streamlined interface with essential tools readily accessible.
Studio Mode: Made or changed for advanced users, this workspace offers complete tool customization and advanced features.
Canvas Configuration Tips
When creating a new canvas, consider the following advice:
Resolution: Aim for 300 DPI for high-quality print artwork
Color Mode: Choose between RGB (for digital display) and CMYK (for print)
Canvas Size: Select dimensions based on your project’s intended use
Digitally Paint With Clip Studio Paint By The Morphic Studio
Mastering Essential Tools and Techniques
Brush Selection and Customization
Clip Studio Paint boasts an extensive collection of brushes that can be customized to suit your artistic vision:
G-Pen: Perfect for crisp, clean line work
Watercolor Brushes: Ideal for creating soft, fluid painting effects
Marker Brushes: Great for bold, graphic styles
Airbrush Tools: Excellent for creating smooth gradients and atmospheric effects
Layer Management Strategies
Effective layer management is crucial for non-destructive digital painting:
Create separate layers for sketching, line art, base colors, and details
Utilize blending modes to enhance shading and lighting effects
Experiment with layer opacity to create subtle transitions
Advanced Coloring Techniques
Color Workflow
Base Coloring: Start with flat, solid color foundations
Shading: Use multiply layers for rich, deep shadows
Highlights: Engage screen layers to add luminosity
Color Adjustments: Hold adjustment layers for fine-tuning
Texture and Detail Enhancement
Import custom textures from Clip Studio Assets
Use overlay and texture layers to add depth
Experiment with clipping masks for precise texture application
Workflow Optimization Tips
Basicboard Shortcuts: Learn and customize shortcuts to improve efficiency
Custom Brushes: Create and save personalized brush presets
Reference Management: Utilize reference layers for accurate drawing
Color Palette: Develop and save consistent color palettes
Saving and Exporting Your Artwork
File Management Best Practices
Save projects in .clip format to preserve layer information
Export high-resolution images in PNG or JPEG for sharing
Create backup copies of complex artworks
Finally
Digitally Paint With Clip Studio Paint is a ride of continuous learning and creative exploration. You’ll unpick endless artistic possibilities by following the software’s powerful tools, developing a structured workflow, and practicing consistently.
Think of that mastery comes with practice. Feel free to experiment, make mistakes, and develop your unique style. The digital canvas is your playground, and Clip Studio Paint is your versatile companion in bringing your artistic visions to life.
Curly Hair Rendering – Particle Converts Hair Dard From 3D Hair Brush in Blender
Curly Hair Rendering in Blender presents unique challenges due to the complex nature of curls, their light interaction, and movement patterns. The Morphic Studio shares information about the process of creating stunning Curly hair rendering using particle systems and converting them to mesh hair with the powerful 3D Hair Brush plugin. Whether you’re creating characters […]
March 11, 2025
How To Create Ram Sita Character Animation in Blender By Morphic Studio For Youforia_by_hrutul
By Morphic Studio for Youforia_by_hrutul Character animation in Blender is both an art and a technical challenge. Particularly when creating characters with cultural and historical significance like Ram sita Blender Animation. The entire production pipeline, from concept to final render, offers technical awareness and creative best practices for animators at Morphic Studio working on the […]
March 11, 2025
How To Create Tiger 3D Animation Model – Siberian Tiger Animated
Creating a realistic Tiger 3D animated model of a majestic Siberian tiger is an ambitious but rewarding project for 3D artists. The Morphic Studio shares information about the entire process from the initial concept to the final animation, providing professional awareness and technical details at each stage. Introduction A Siberian tiger (Panthera tigris altaica) is […]