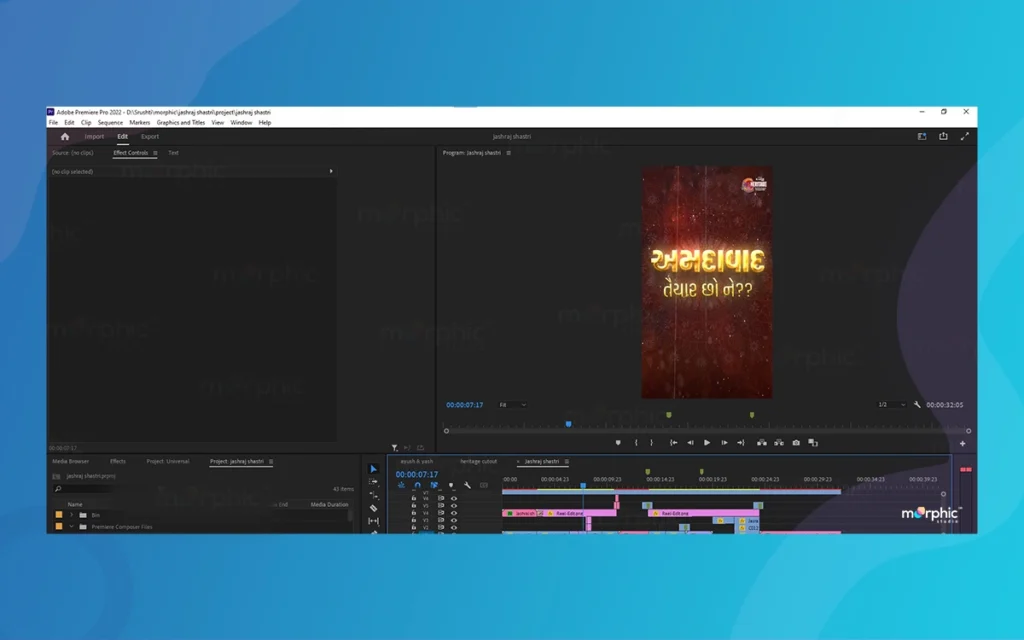
Text animation can be that secret ingredient that turns any great project to fantastic. Text Animations in Adobe Premiere Pro is a powerhouse, offering you an enormous amount of tools and techniques needed to make captivating text animations. The Morphic Studio provides information on creating stunning text animations that will make your videos pop.
What is Text Animations in Premiere Pro?
Animation of text in Adobe Premiere Pro involves much more than moving words across the screen. This is one of the most effective ways of telling a story, emphasizing basic points, and adding visual interest to your videos. No matter what kind of project you’re working on-be it for a professional presentation, a YouTube video, or a short film-knowing how to work with text animations can greatly help in adding weight to your content.
Adobe Premiere Pro opens you to a world of inbuilt tools and effects that will enable you to make anything from simple fades up to complex, multi-layer animations. This information will help you with the basic and advanced techniques necessary to tap the full potential of text animation in your projects.
How to Set Up Your Project
Before diving into the world of text animations, it’s crucial to set up your project correctly. This ensures a smooth workflow and helps you avoid potential issues down the line.
Creating a New Project
Step#1. Open Adobe Premiere Pro.
Step#2. Click on “New Project” in the start window.
Step#3. Name your project and choose a location to save it.
Step#4. Select the appropriate sequence settings based on your footage (e.g., 1080p at 24fps for standard HD video).
Adding a Background
A background gives context to your text animations and can complement your general design. Here’s how to add one:
Step#1. Click on the “New Item” button in the Project panel.
Step#2. Select “Color Matte” from the dropdown menu.
Step#3. Choose a color that fits your project’s theme.
Step#4. Drag the color matte to your timeline.
Opening the Essential Graphics Panel
The Essential Graphics panel is your command center for creating and managing text animations:
Go to Window > Essential Graphics in the top menu.
The panel will appear, typically docking on the right side of your workspace.
With these basic setup steps complete, you’re ready to start creating your text animations.
How to Create and Customizing Text
The foundation of any great text animation is, of course, the text itself. Premiere Pro offers strong and healthy tools for creating and customizing text to fit your project’s needs.
Adding Text to Your Project
Step#1. Select the Text Tool (T) from the toolbar.
Step#2. Click on the Program Monitor where you want your text to appear.
Step3#. Type your desired text.
Customizing Text Appearance
Use the Essential Graphics panel to fine-tune your text:
Font: Choose from a wide variety of installed fonts or use Adobe Fonts.
Size: Adjust the text size to fit your composition.
Color: Select a color that stands out against your background.
Adjustment: Choose left, center, or right adjustment.
Tracking: Adjust the spacing between characters.
Leading: Modify the space between lines of text.
Creating Text Styles
For consistency across your project, create and save text styles:
Customize your text as desired.
In the Essential Graphics panel, click the “New Style” button.
Name your style for easy reference.
Now that your text is created and styled, it’s time to bring it to life with animations.
Basic Text Animation Techniques
Let’s start with some fundamental animation techniques that can add dynamism to your text.
Using Keyframes for Basic Animation
Basic frames are the building blocks of animation in Premiere Pro. They mark the beginning and end points of a change in your text’s properties.
Position Animation:
Select your text layer in the timeline.
In the Effect Controls panel, click the stopwatch icon next to Position.
Move the playhead to a later point in time.
Drag your text to a new position in the Program Monitor.
Premiere Pro will automatically create a smooth animation between the two positions.
Scale Animation:
Follow the same process as above, but use the Scale property instead.
Start with a scale of 0% and end at 100% for a “grow” effect.
Opacity Animation:
Use the Opacity property to fade your text in or out.
Set basic frames from 0% to 100% opacity (or vice versa) for a smooth fade effect.
Adding Ease to Your Animations
Easing makes your animations look more natural by gradually accelerating or decelerating the movement.
Right-click on a basic frame in the Effect Controls panel.
Select “Temporal Interpolation” > “Ease In” or “Ease Out”.
Adjust the bezier handles that appear to fine-tune the easing effect.
How to Use the Transform Effect for More Control
The Transform effect gives you additional animation options:
Apply the Transform effect to your text layer from the Effects panel.
Use properties like Skew or Perspective to create more energetic movements.
Animate these properties using basic frames as described above.
Advanced Animation Methods
Once you’re comfortable with basic animations, it’s time to take a look at more complex techniques that can truly make your text stand out.
Animating Individual Characters
Premiere Pro allows you to animate each character in your text independently:
Step#1. Select your text layer.
Step#2. In the Essential Graphics panel, click on “Animate” next to “Text”.
Step#3. Choose properties like Position, Scale, or Rotation.
Step#4. Adjust the “Range Selector” to control which characters are affected and when.
Creating a Typewriter Effect
The typewriter effect is a classic animation that simulates text being typed out:
Apply the “Opacity” animation to your text (as described in the previous section).
In the Range Selector, set Start to 0% and End to 1%.
Animate the End value from 0% to 100% over time.
Adjust the Offset to control the timing of each character’s appearance.
Using Masks for Revealing Text
Masks can create interesting reveal effects for your text:
Step#1. Create a shape layer above your text layer.
Step#2. Use the Pen tool to draw a mask on the shape layer.
Step#3. Set the shape layer as a Track Matte for your text layer.
Step#4. Animate the mask’s position to gradually reveal your text.
Text Animations in Adobe Premiere Pro By The Morphic Studio
3D Text Animation
For a more immersive effect, try animating your text in 3D space:
Enable 3D for your text layer by clicking the cube icon in the timeline.
Use the Rotation properties (X, Y, Z) in the Effect Controls panel to rotate your text in 3D space.
Combine with other properties like Position and Scale for complex 3D animations.
Adding Polish with Effects
Effects can take your text animations to the next magnitude, adding visual interest and professional polish.
Applying Blur Effects
Blur effects can create a sense of motion or depth:
Add a Gaussian Blur or Directional Blur effect to your text layer.
Animate the blur amount using basic frames.
Synchronize the blur animation with your text’s movement for a more cohesive look.
Using Glow and Shadow Effects
Glow and shadow can make your text pop:
Step#1. Add the Glow effect to your text layer for a soft, luminous appearance.
Step#2. Use the Drop Shadow effect to add depth and separate your text from the background.
Step#3. Animate the intensity or color of these effects for energetic results.
Incorporating Particle Effects
For more elaborate animations, consider using particle effects:
Step#1. Apply the Particle Playground effect to a solid layer.
Step#2. Adjust the particle properties to create effects like explosions or swarms.
Step#3. Use your text as an alpha matte for the particle layer to create text formed from particles.
Troubleshooting Common Issues
Even experienced editors can run into issues with text animations. Here are some common problems and their solutions:
Choppy Animations
If your animations appear choppy:
Ensure your sequence settings match your footage.
Try rendering your timeline (Sequence > Render In to Out).
Adjust your playback resolution to 1/2 or 1/4 for smoother preview performance.
Text Disappearing
If your text disappears unexpectedly:
Check that your text layer extends for the full duration you intend in the timeline.
Verify that you haven’t accidentally basic framed the opacity to 0%.
Ensure no masks or mattes are unintentionally hiding your text.
Effects Not Applying Correctly
If effects aren’t working as expected:
Check that the effect is applied to the correct layer.
Ensure you’re viewing the composition at 100% scale in the Program Monitor.
Try clearing your media cache (Edit > Purge > All Media Cache).
Best Practices for Text Animations
To create truly stunning text animations, keep these best practices in mind:
Keep it Readable: Ensure your text remains legible throughout the animation.
Sync with Audio: Time your animations to match your video’s audio or narration.
Use Consistent Style: Maintain a consistent animation style throughout your project for a cohesive look.
Don’t Overdo It: Sometimes, simple animations are more effective than complex ones.
Consider Your Audience: Made or changed your animations to your target audience and the tone of your video.
Iterate and Refine: Don’t be afraid to experiment and refine your animations multiple times.
Here’s a useful table summarizing some basic animation techniques and their typical uses:
Animation Technique
Typical Use Case
Difficulty Level
Fade In/Out
Subtle text introductions
Beginner
Scale
Emphasizing basic words
Beginner
Position
Moving text across the screen
Intermediate
Rotation
Creating energetic, attention-grabbing effects
Intermediate
Character Animation
Typewriter effects, word emphasis
Advanced
3D Animation
Immersive title sequences
Advanced
Particle Effects
Abstract, artistic text reveals
Expert
Finally
Mastering text animations in Adobe Premiere Pro opens up a world of creative possibilities for your video projects. From simple fades to complex 3D animations, the techniques covered in this guide provide a solid foundation for creating stunning text animations that engage your audience and raise your content.
Remind, the basic to great text animations lies not just in the techniques themselves, but in how you apply them to support your story and message. As you practice and experiment with these methods, you’ll develop your own unique style and workflow.
Keep pushing the boundaries of what’s possible with text in Premiere Pro, and don’t be afraid to combine different techniques for truly unique results. With patience, creativity, and the knowledge you’ve gained from this guide, you’re well on your way to creating text animations that will make your videos truly stand out.
Best 5 Software and Tools for Interior Design In 2025
Interior Design has develop progress dramatically with technology, transforming how professionals and addict bring their creative visions to life. The Morphic Studio shares the top five software and tools to transform the interior design environment in 2025, enabling designers to create stunning spaces with unprecedented efficiency and precision. The Evolution of Interior Design Technology The […]
February 17, 2025
Best Applications of 3D Printing in Art By Morphic Studio
3D Printing in Art technology has emerged as an innovative force in the art world, fundamentally changing how artists conceive, create, and present their work. This technological innovation has opened up unprecedented possibilities for artistic expression, pushing the boundaries of what’s possible in contemporary art. The Morphic Studio shares the transformative applications of 3D Printing […]
February 14, 2025
Why 3D Rendering Is a Game-Changer?
In today’s rapidly increasing technological environment, 3D Rendering has emerged as a transformative force across multiple industries. With the market projected to surpass $6 billion by 2025, this powerful visualization technology transforms how businesses communicate, design, and sell their products and services. The Morphic Studio shares information about the profound impact of 3D Rendering and […]